Pite Klinit / Flija / Fli

Flija; it’s a total workout of the soul, mind and body. I’m here to guide you step by step to this long process. Every time I asked for a recipe or step by step description, I got different answers when my mom made it. I finally decided to make one next to her, with my own measurements, while watching her to compare mine and hers. And in the end, I’m confident to say mine was almost identical to hers. The soft, moist inside layers with the crispy outer layers are simply delicious. I will warn you in advance; get ready to be sitting in front of your oven for a few hours. Yes, a few hours. This is a dish that you need to broil layer by layer until the top and all eyes need to be kept on it the whole process. So call someone, grab a glass of wine and enjoy the process!
Yield: 15 Servings
Ingredients:
Dough/Fli Layers:
(2 Bowls of the following)
6 Cups Flour
2 Eggs
2 Tablespoons Olive Oil
1 Teaspoon Salt
Water (1 cup at a time. About 7 cups or more)
Cheese Layers:
2 Cups Feta Cheese
2 Cups Kajmak (If you don’t have this, you can use cream cheese. I find Kajmak in European stores)
Directions:
1. In one large bowl, place in your flour, eggs, olive oil, salt and 3 cups of water. Mix on low speed for about two minutes until everything is combined. Slowly add in one cup of water at a time on low speed until you get a thin and creamy consistency. It should be the same consistency as crepe batter. If you dip in a spoon, the batter should coat the back of the spoon. Repeat these steps one more time in another large bowl. In the end, you’ll have two large bowls of dough/”kli” batter.
2. In large saucepan over medium heat, combine the feta cheese and kajmak/cream cheese until all melted and incorporated. Turn off the heat and set aside.
3. Set your oven to broil on high and place your baking rack to the highest rack . In the meantime, get a round baking pan and rub about 1/4 cup of olive oil all throughout the pan in one even coat. I use 14 inch round pan for this recipe. Once the oven is heated up, place your olive oil coated pan in the oven for 2-3 minutes. This will help get that bottom layer crispy and seal in that layer before you start the layering process. Remove from the oven.
4. With a large ladle, pour in a layer of the dough/klin layer and swirl around the pan until the bottom is fully coated. If you cant reach to the edges, add in a bit more of the dough/klin layer until it is fully coated. Place back in your oven for about 2-3 minutes or until the layer is baked evenly. Remove from the oven and scoop about 1/4 cup of the cheese mixture and spread it evenly on top. If the sides of the bottom layer slightly lift up, just lightly push it down with the spoon you’re spreading out the cheese layer with. Place back in your oven for about 3-4 minutes or until the layer is slightly crisp/baked through.
5. Repeat step 4 until you reach the top of the pan.
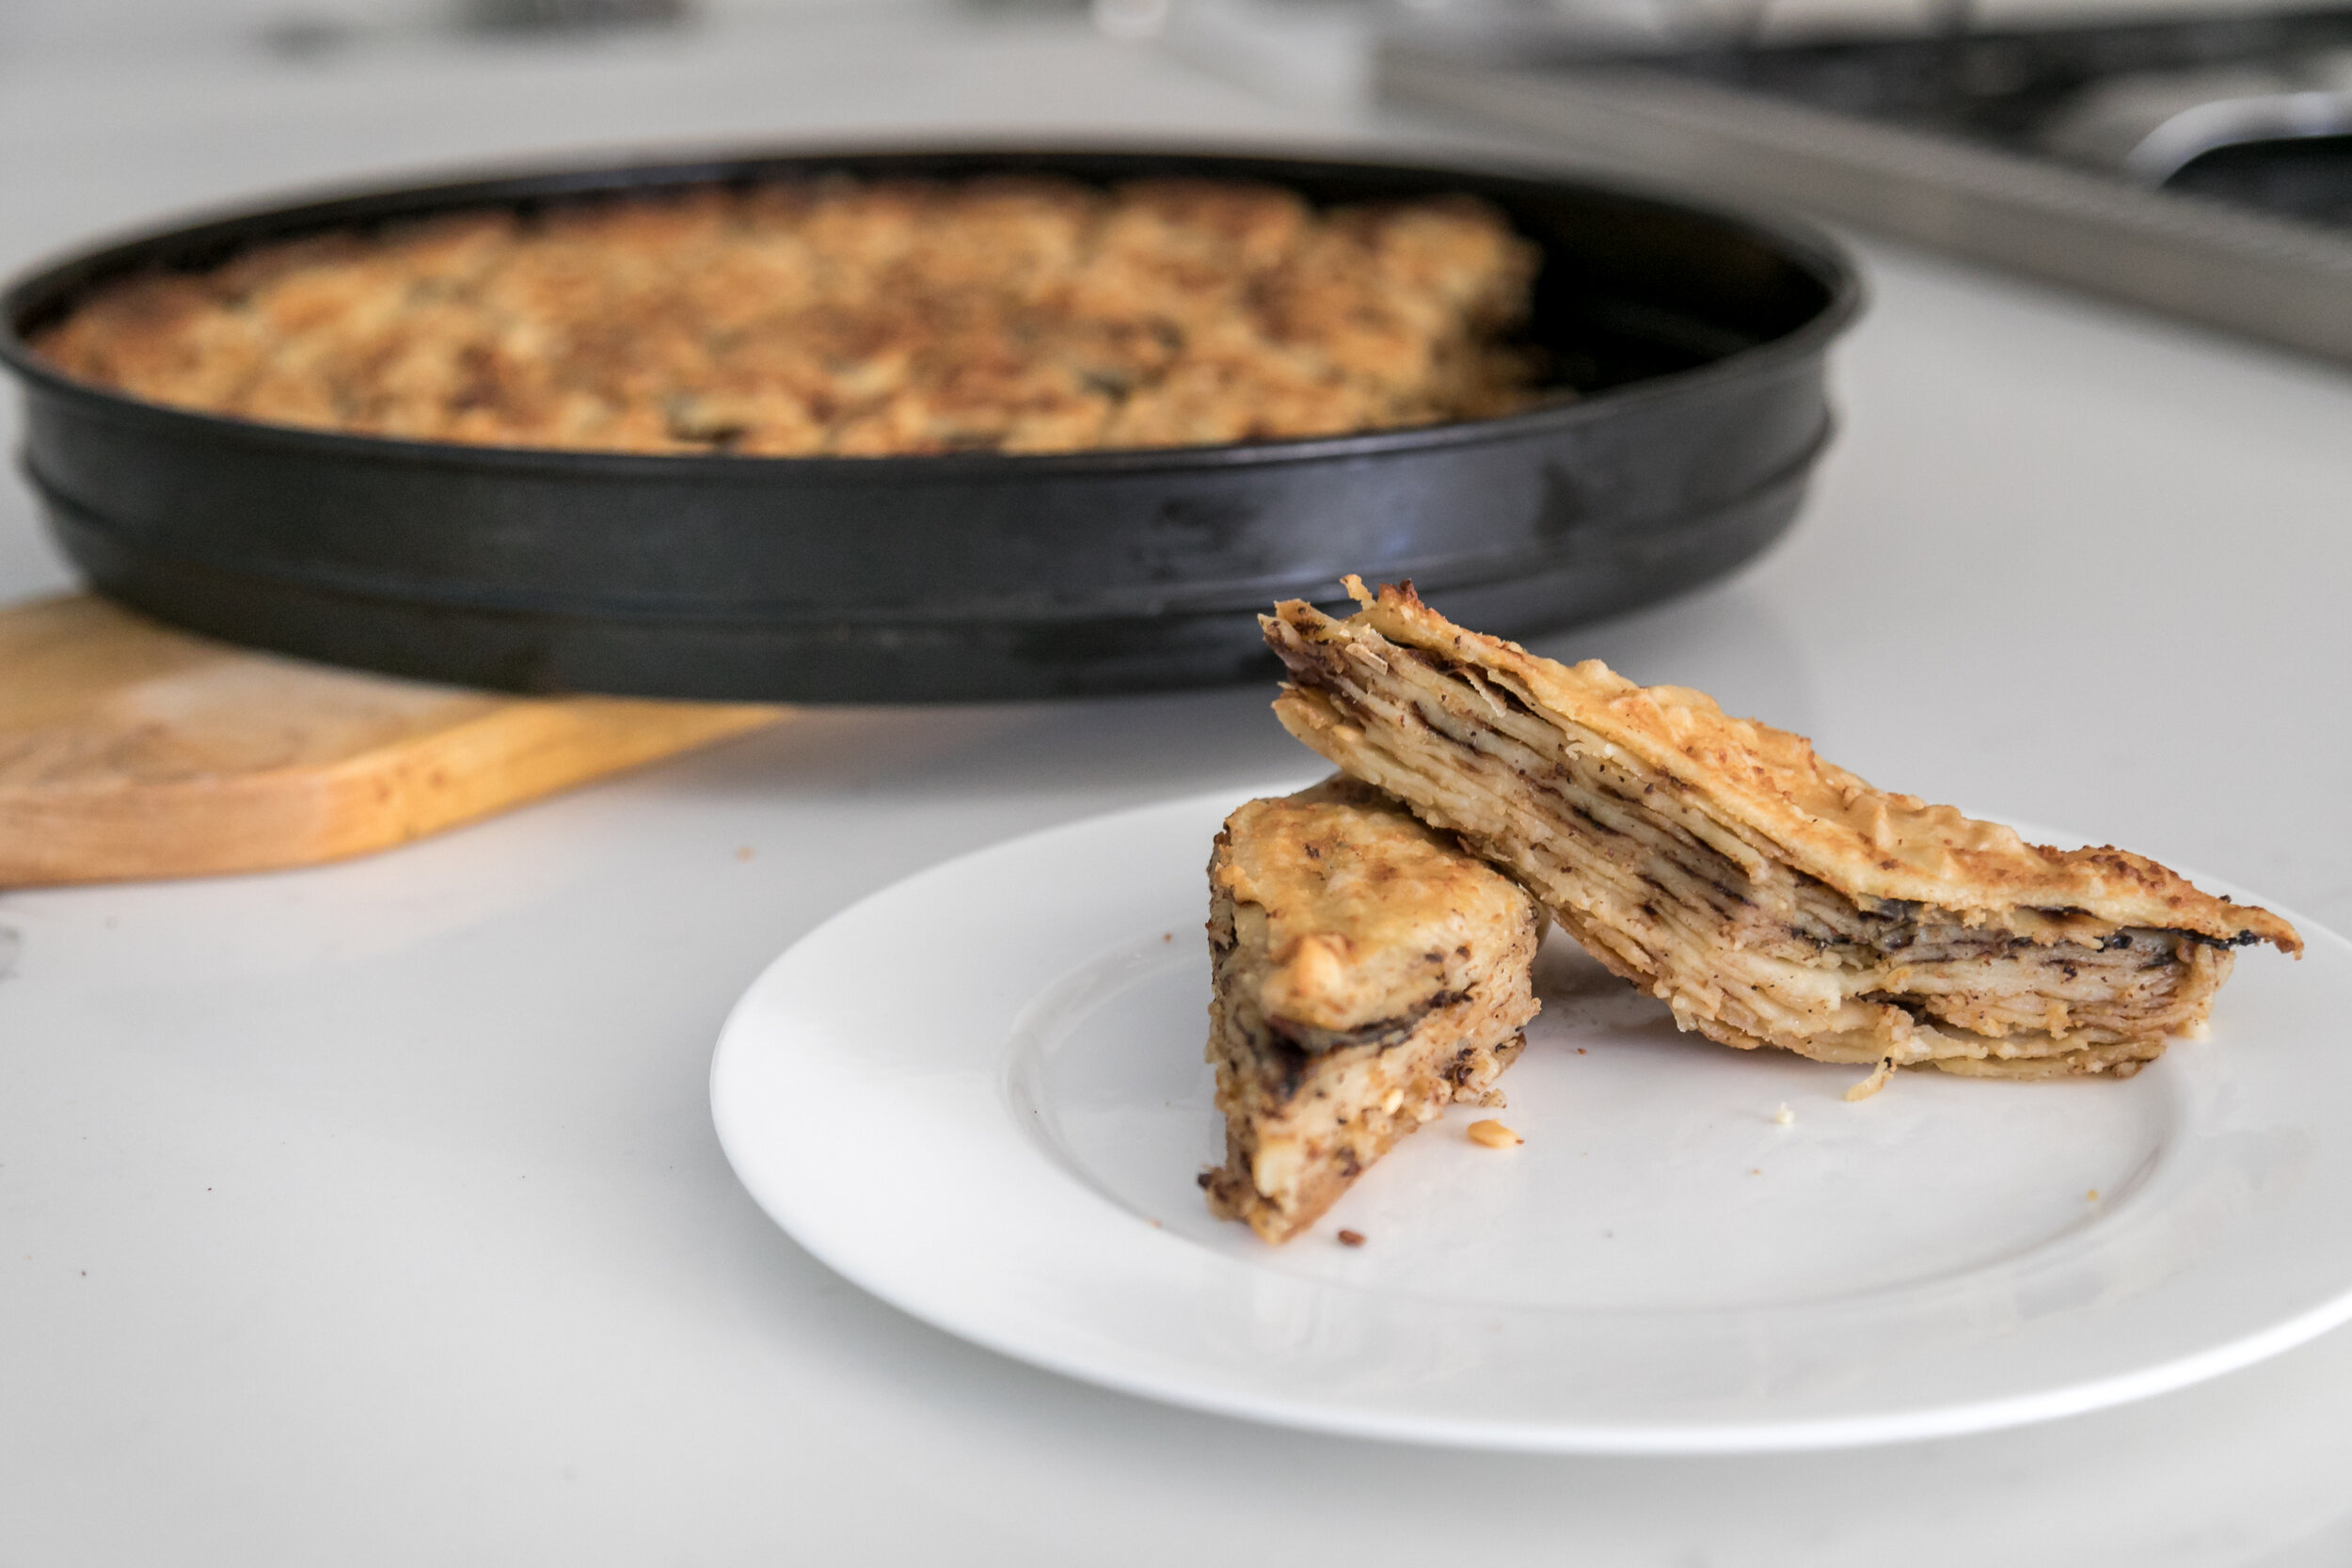
6. When you reach the top, make sure your last layer is the cheese layer. After the cheese layer has finished, remove from the oven and cut the pite klinit into desired shapes. Some people like to do large triangles, or squares. I cut the pite into a diamond shapes.
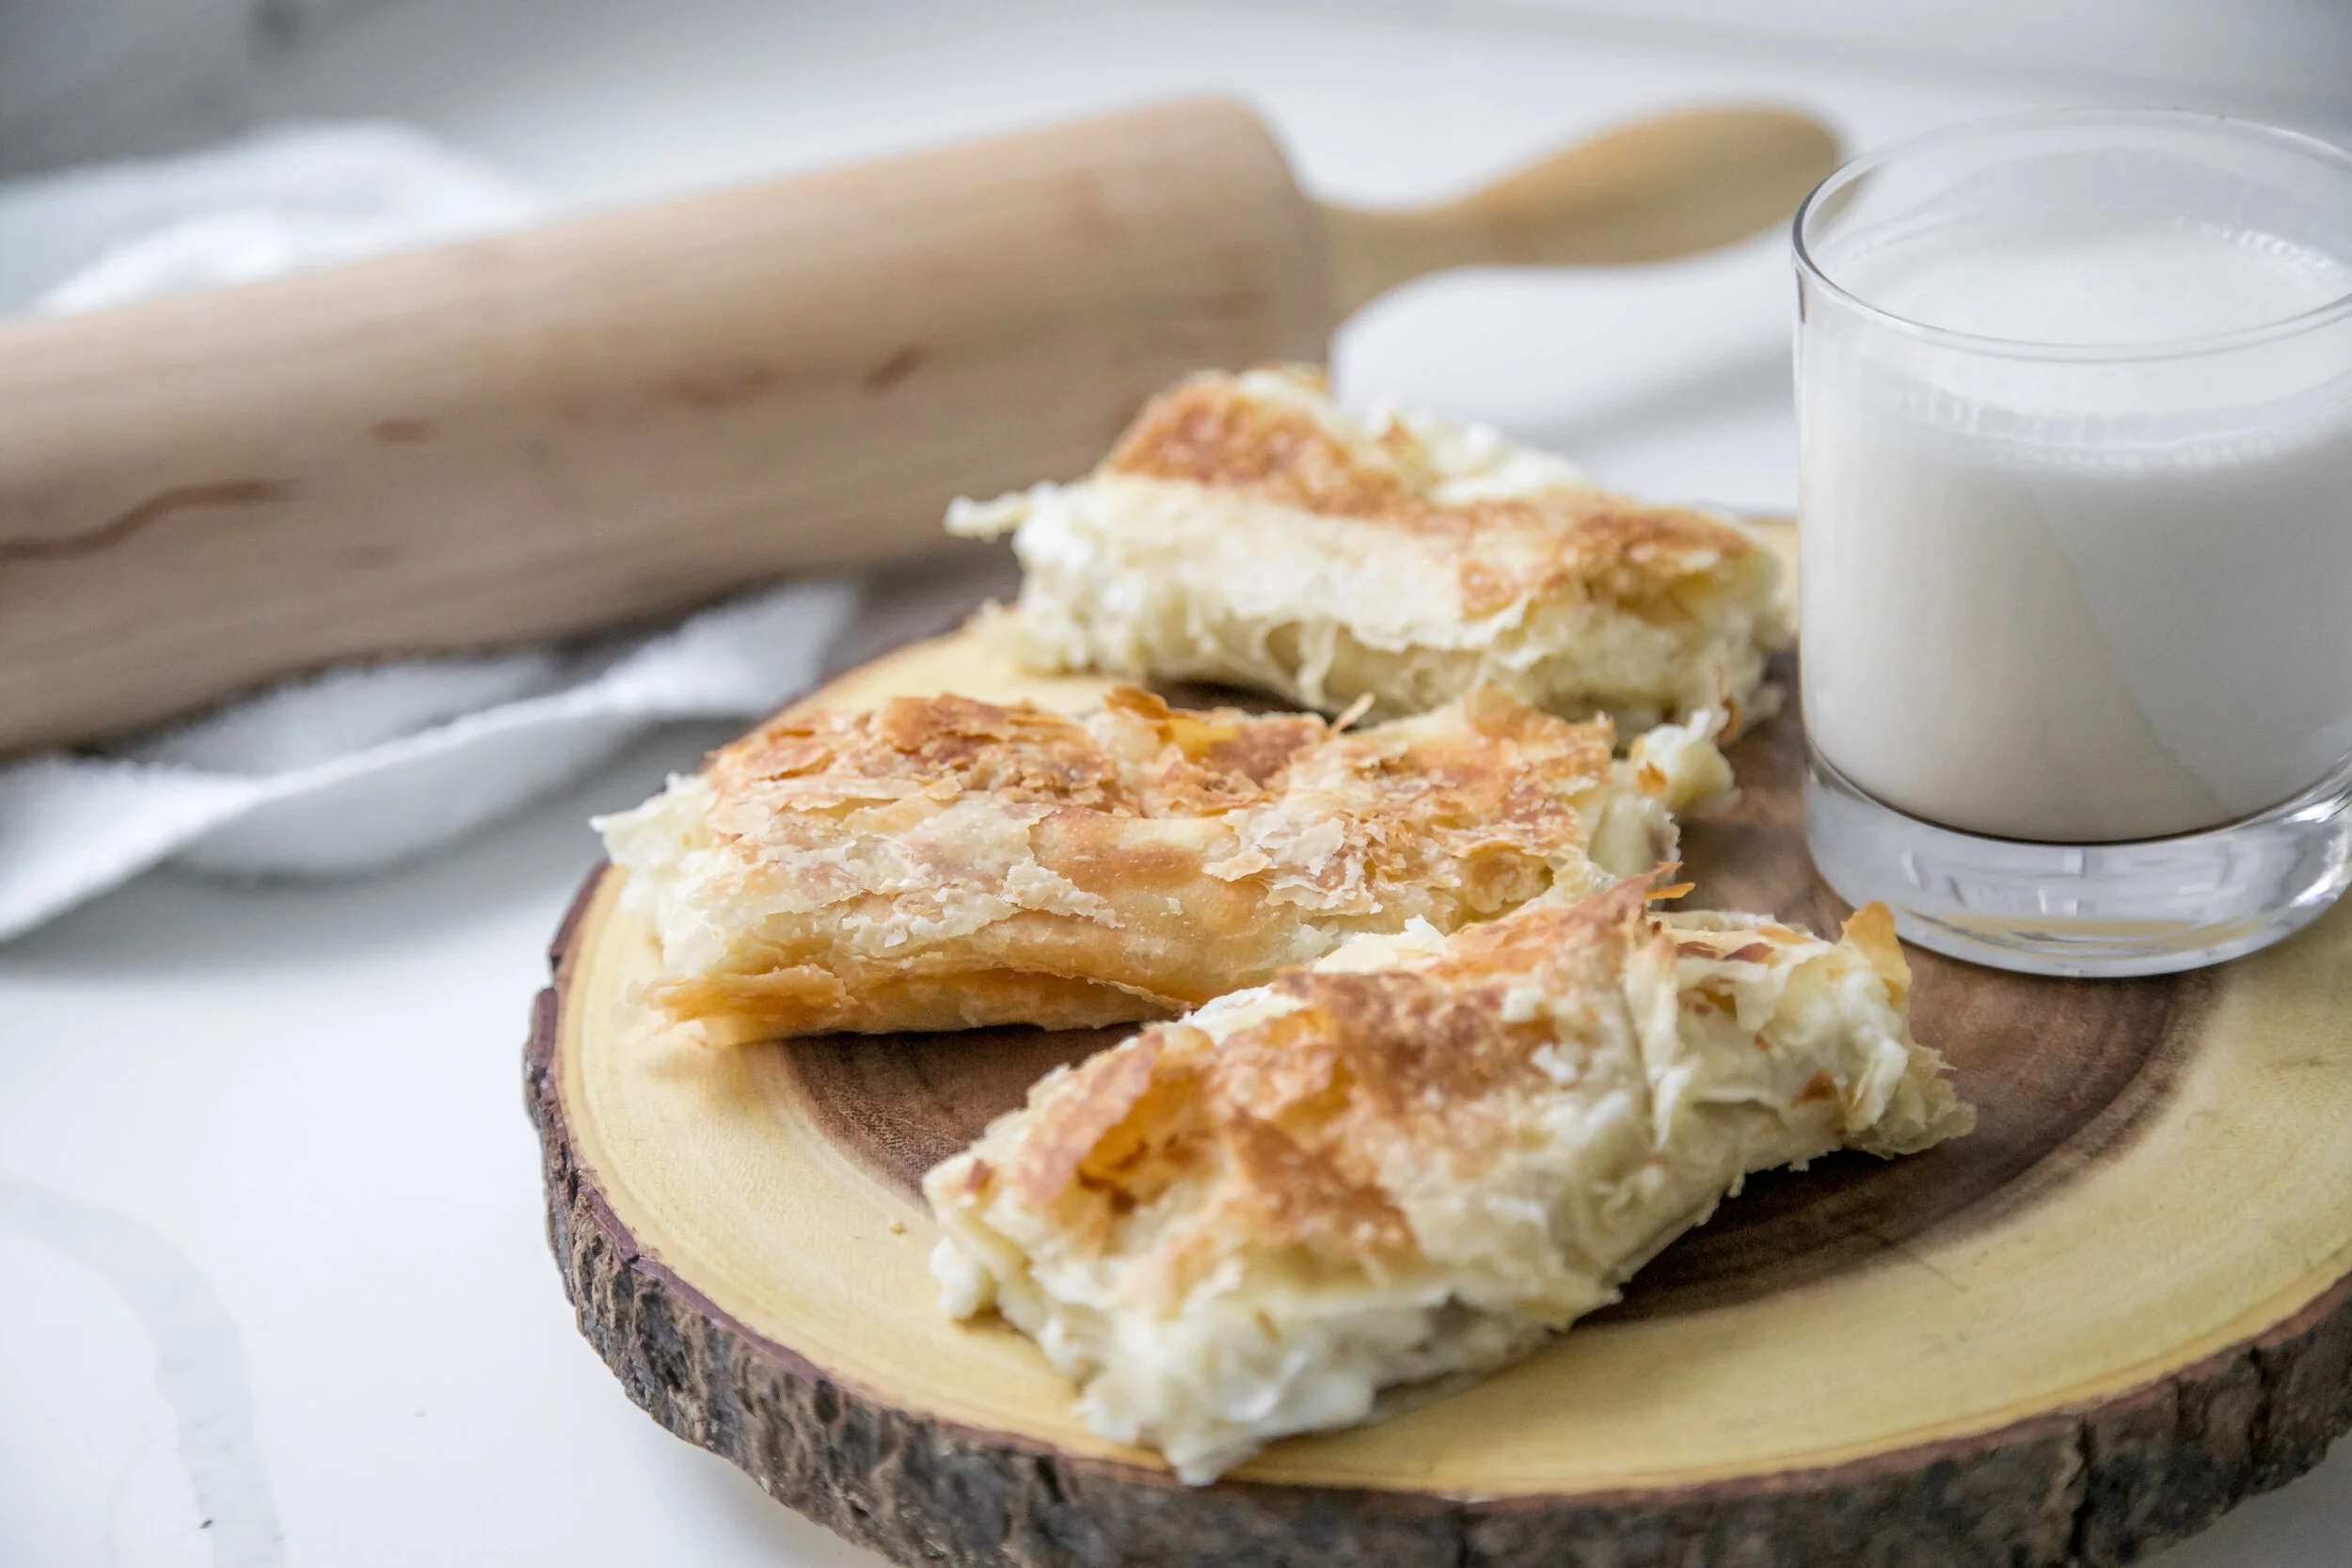
7. Set your oven to 375 degrees Fahrenheit and place your baking rack on the lowest rack. Place the pite into the oven and bake for 40-45 minutes, until the pite is golden brown. Remove from the oven and let it cool for about 20 minutes. Serve with yogurt and enjoy!
TIPS:
If the middle of your pite starts to cook quicker than the sides, place a piece of folded aluminum foil on top while the sides finish cooking.
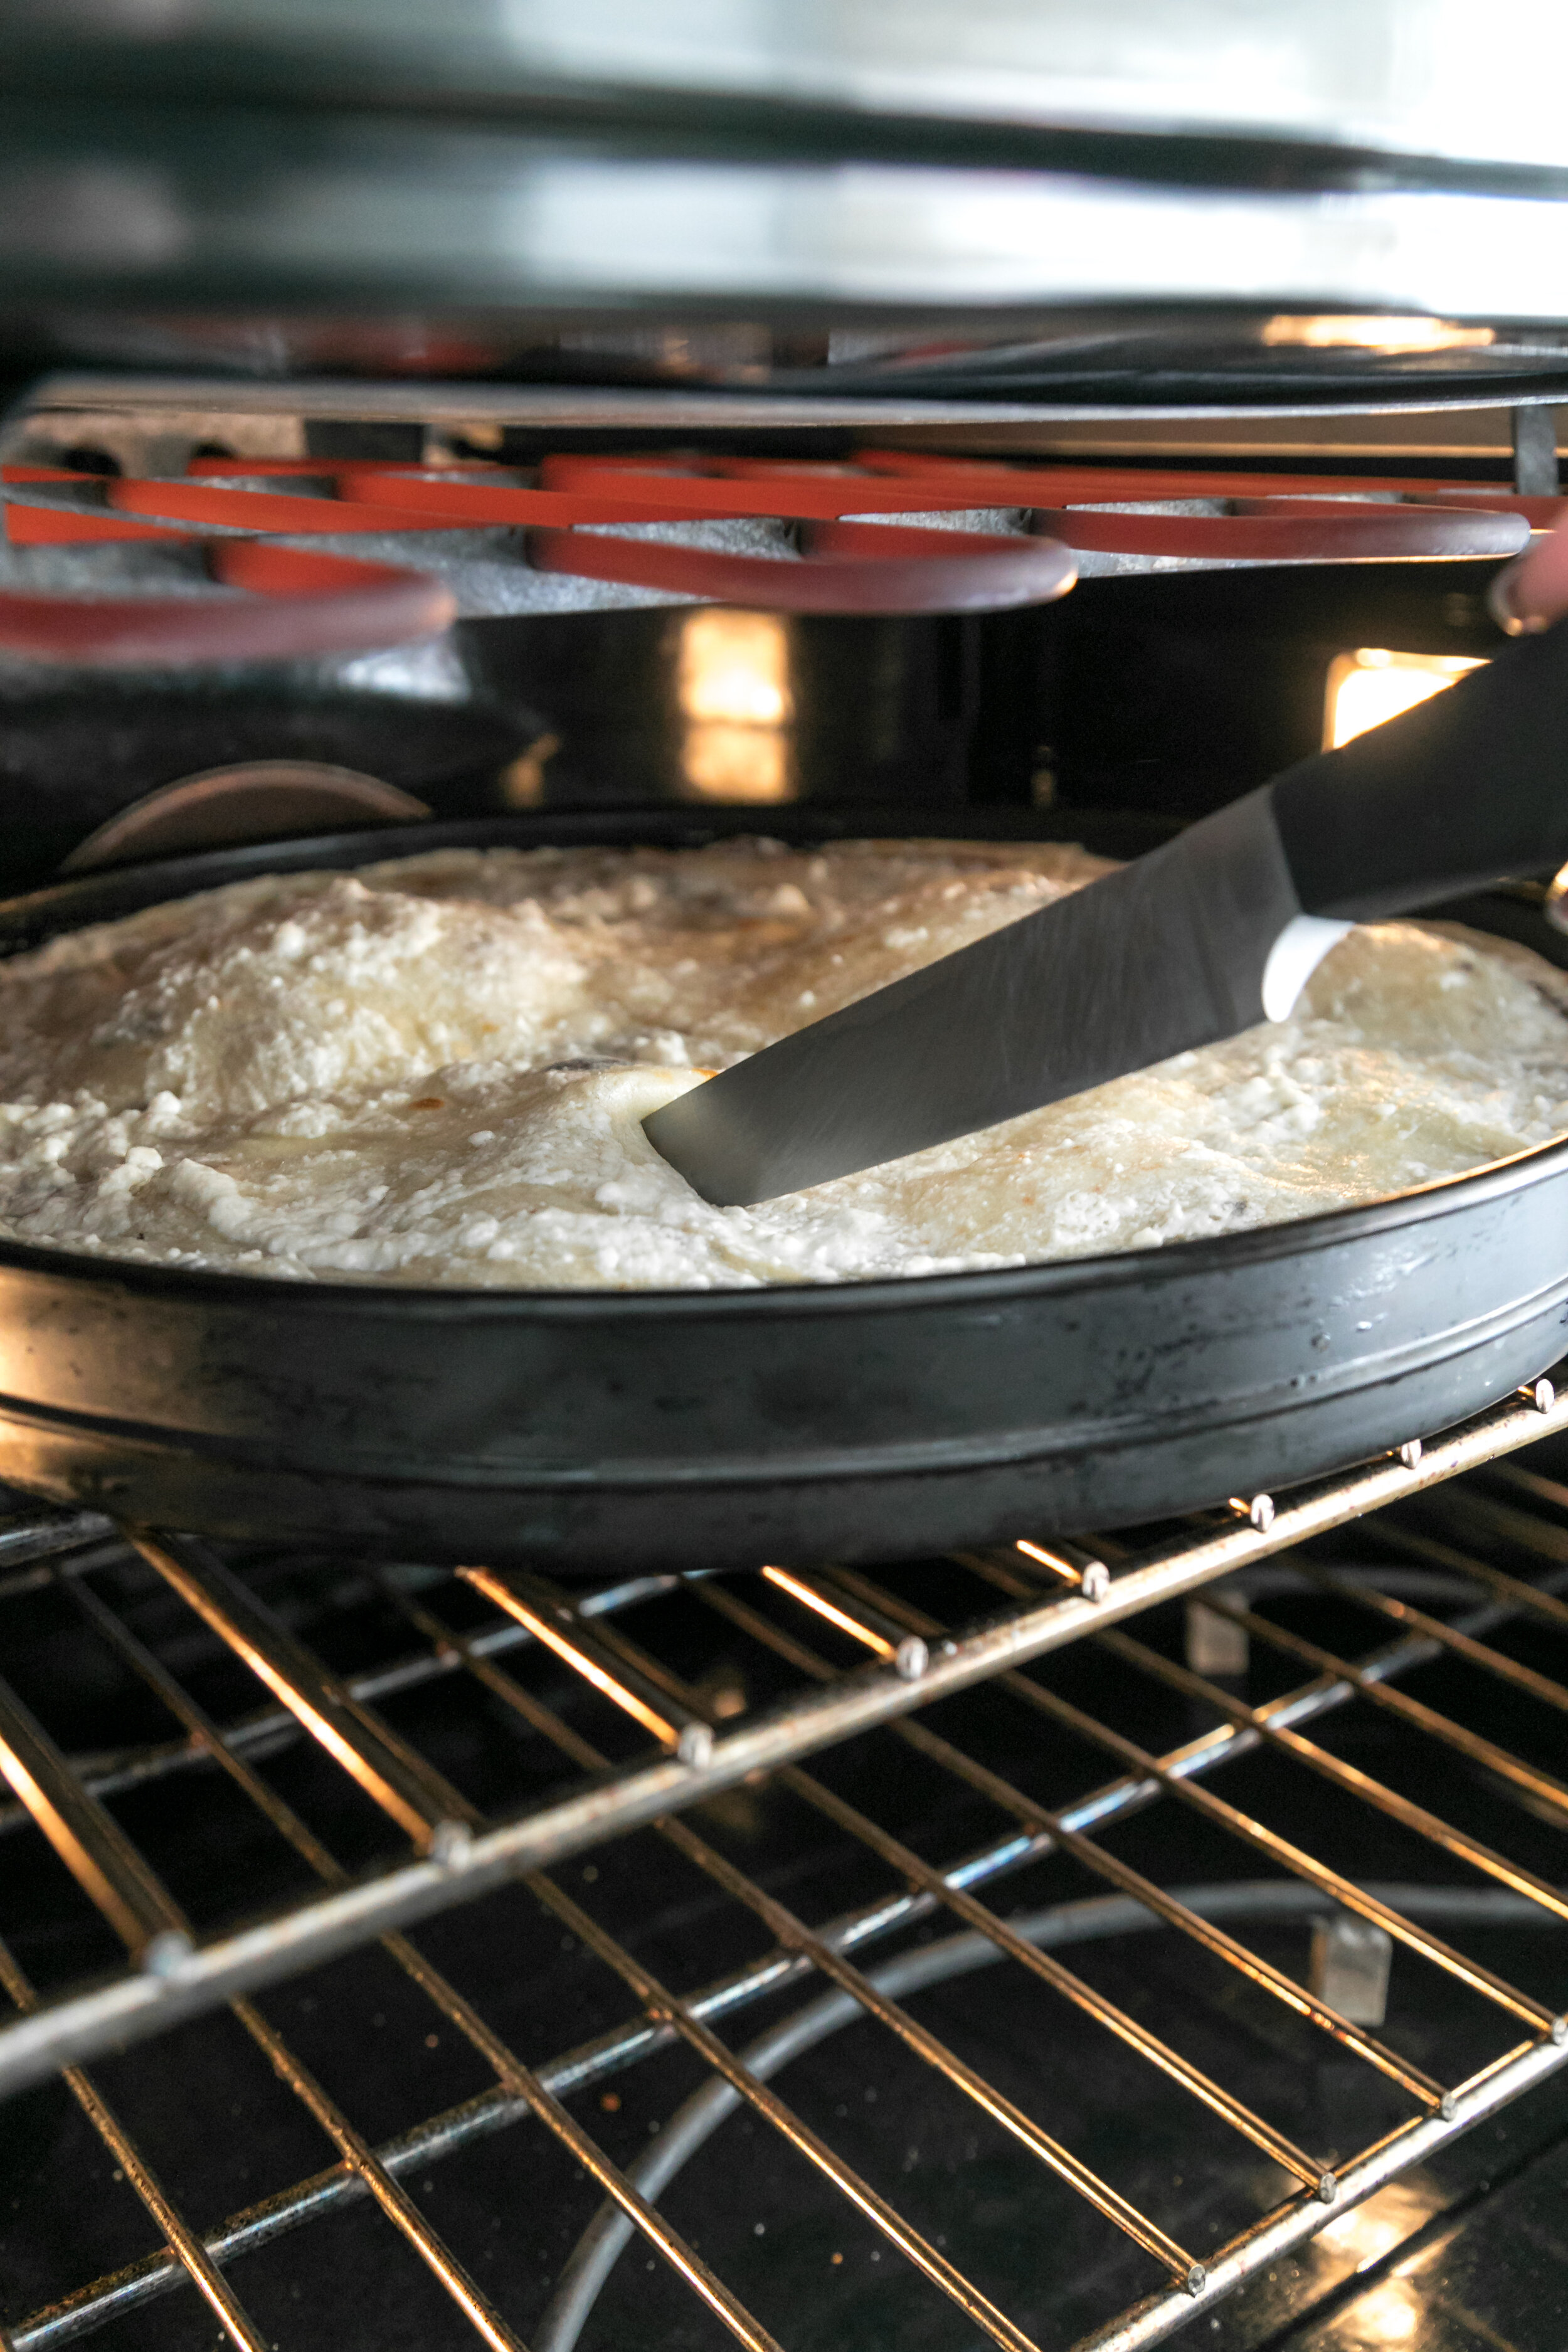
If air pockets start to form, just poke them with a knife so it deflates.
If you notice the dough batter starting to thicken up as time passes, add in a bit of water to thin it out.


